Living on a budget of $660 wolfbucks a semester is a struggle. Apply wanting to create art projects to that budget, and the struggle becomes greater. However, even the dingiest of dorm rooms can look better with some creativity and cheap supplies. Whether it’s your first semester at Loyola or your last, it’s never too late to decorate.
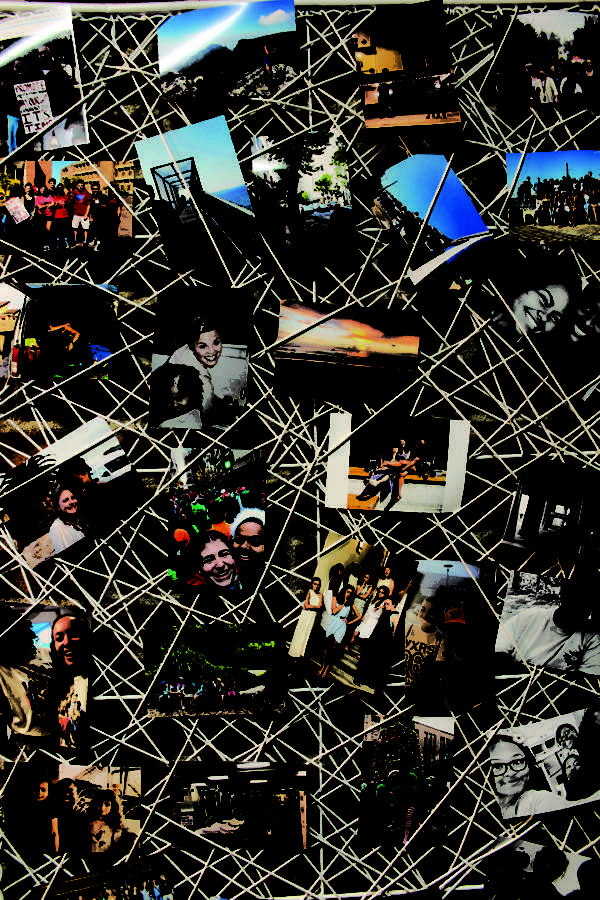
Pictures may seem simple, but they can produce a thousand words. The first project begins at a $15 execution cost. At your local Target, you can purchase a white string board for $10 that spans 5ft by 3ft. Once you’ve picked up the white board, make a quick stop at Walgreens. With their InstantPrint station, you can upload pictures from a Facebook or Instagram account for 10 cents per print. With the accumulated photos, simply interweave the photos throughout the whiteboard.
If you couldn’t get enough of the photos, print a few more from Walgreens for this next project, which will cost only $5 for its implementation. However, with plenty of photos but no frame, here’s where the creative part comes into play. Purchase two types of tape: duct and decorative. Attach the prints to your dormitory wall with the duct tape. Follow through with the decorative tape, boarding each individual print.
Next, we’re lighting the room up. While you’re printing out pictures from Walgreens, pick up two sheets of silver or gold construction paper (2 for $1). Cut the construction papers into 16 and a half inch strips. Once you’ve cut the strips, unscrew your desk lamp and insert the strips horizontally. Once the strips are folded over the top of the lamp shade, fold the strips over the lamp’s edge and
re-screw your shade.
Whether you’re balling on a budget or on your parents’ wallets, these DIY’s are simple, cheap and meaningful.